October 3, 2025
If you've discovered a tree in your yard that’s sick, dying, or showing signs of disease, you may be wondering what steps to take next. A weakened tree can pose serious risks—falling branches, root failures, and safety hazards. Hiring professionals to perform a local tree removal can help protect your property and provide peace of mind. But many homeowners aren’t sure what to expect during the process. In this blog, we’ll walk through the stages of removing a diseased or dying tree, how professionals handle hidden challenges, and tips to make the experience smoother. By understanding the steps ahead, you’ll feel better prepared when you schedule your service.
Initial Assessment and Planning
The first stage in a proper tree removal is an on-site assessment by a qualified arborist or tree removal specialist. During this visit, experts examine the tree’s condition, its surroundings, and potential hazards. They look for signs of structural weakness, disease presence, root health, and proximity to homes, power lines, fences, or other obstacles. For a tree that is dying or infected, the technician will also evaluate whether nearby trees might be affected or whether the disease has spread underground.
At this point, the crew will plan the removal approach: which direction the tree should fall (if being felled), where to stage equipment, and how to ensure safety for both people and property. They’ll also consider whether partial removal or trimming is safer rather than a full removal in certain conditions. You may be asked to clear vehicles, outdoor furniture, or garden items near the tree. The arborist provides a clear quote for labor, equipment, disposal, and any stump work. Once approved, scheduling the removal day takes place. Because diseased or dying trees can deteriorate quickly, many companies prioritize local tree removal requests to avoid emergencies.
Rigging, Safety, and Equipment Setup
On the day of the removal, the team arrives with the necessary tools: chainsaws, ropes, rigging gear (pulleys, slings), ladders, possibly aerial lifts or cranes, and protective gear. They will first cordon off the work zone and put up safety barriers or caution tape to keep spectators and pets out of harm’s way. Every tool is checked, and safety protocols are reviewed.
If the diseased tree is near structures or tight spaces, rigging becomes essential. The crew may use ropes and pulleys to lower sections of the tree bit by bit, rather than cutting it to fall in one piece. This controlled removal is especially important to protect homes, sheds, fences, or landscaping nearby. The arborist may climb partway up or use a lift to make cuts higher in the canopy before allowing sections to descend slowly to the ground.
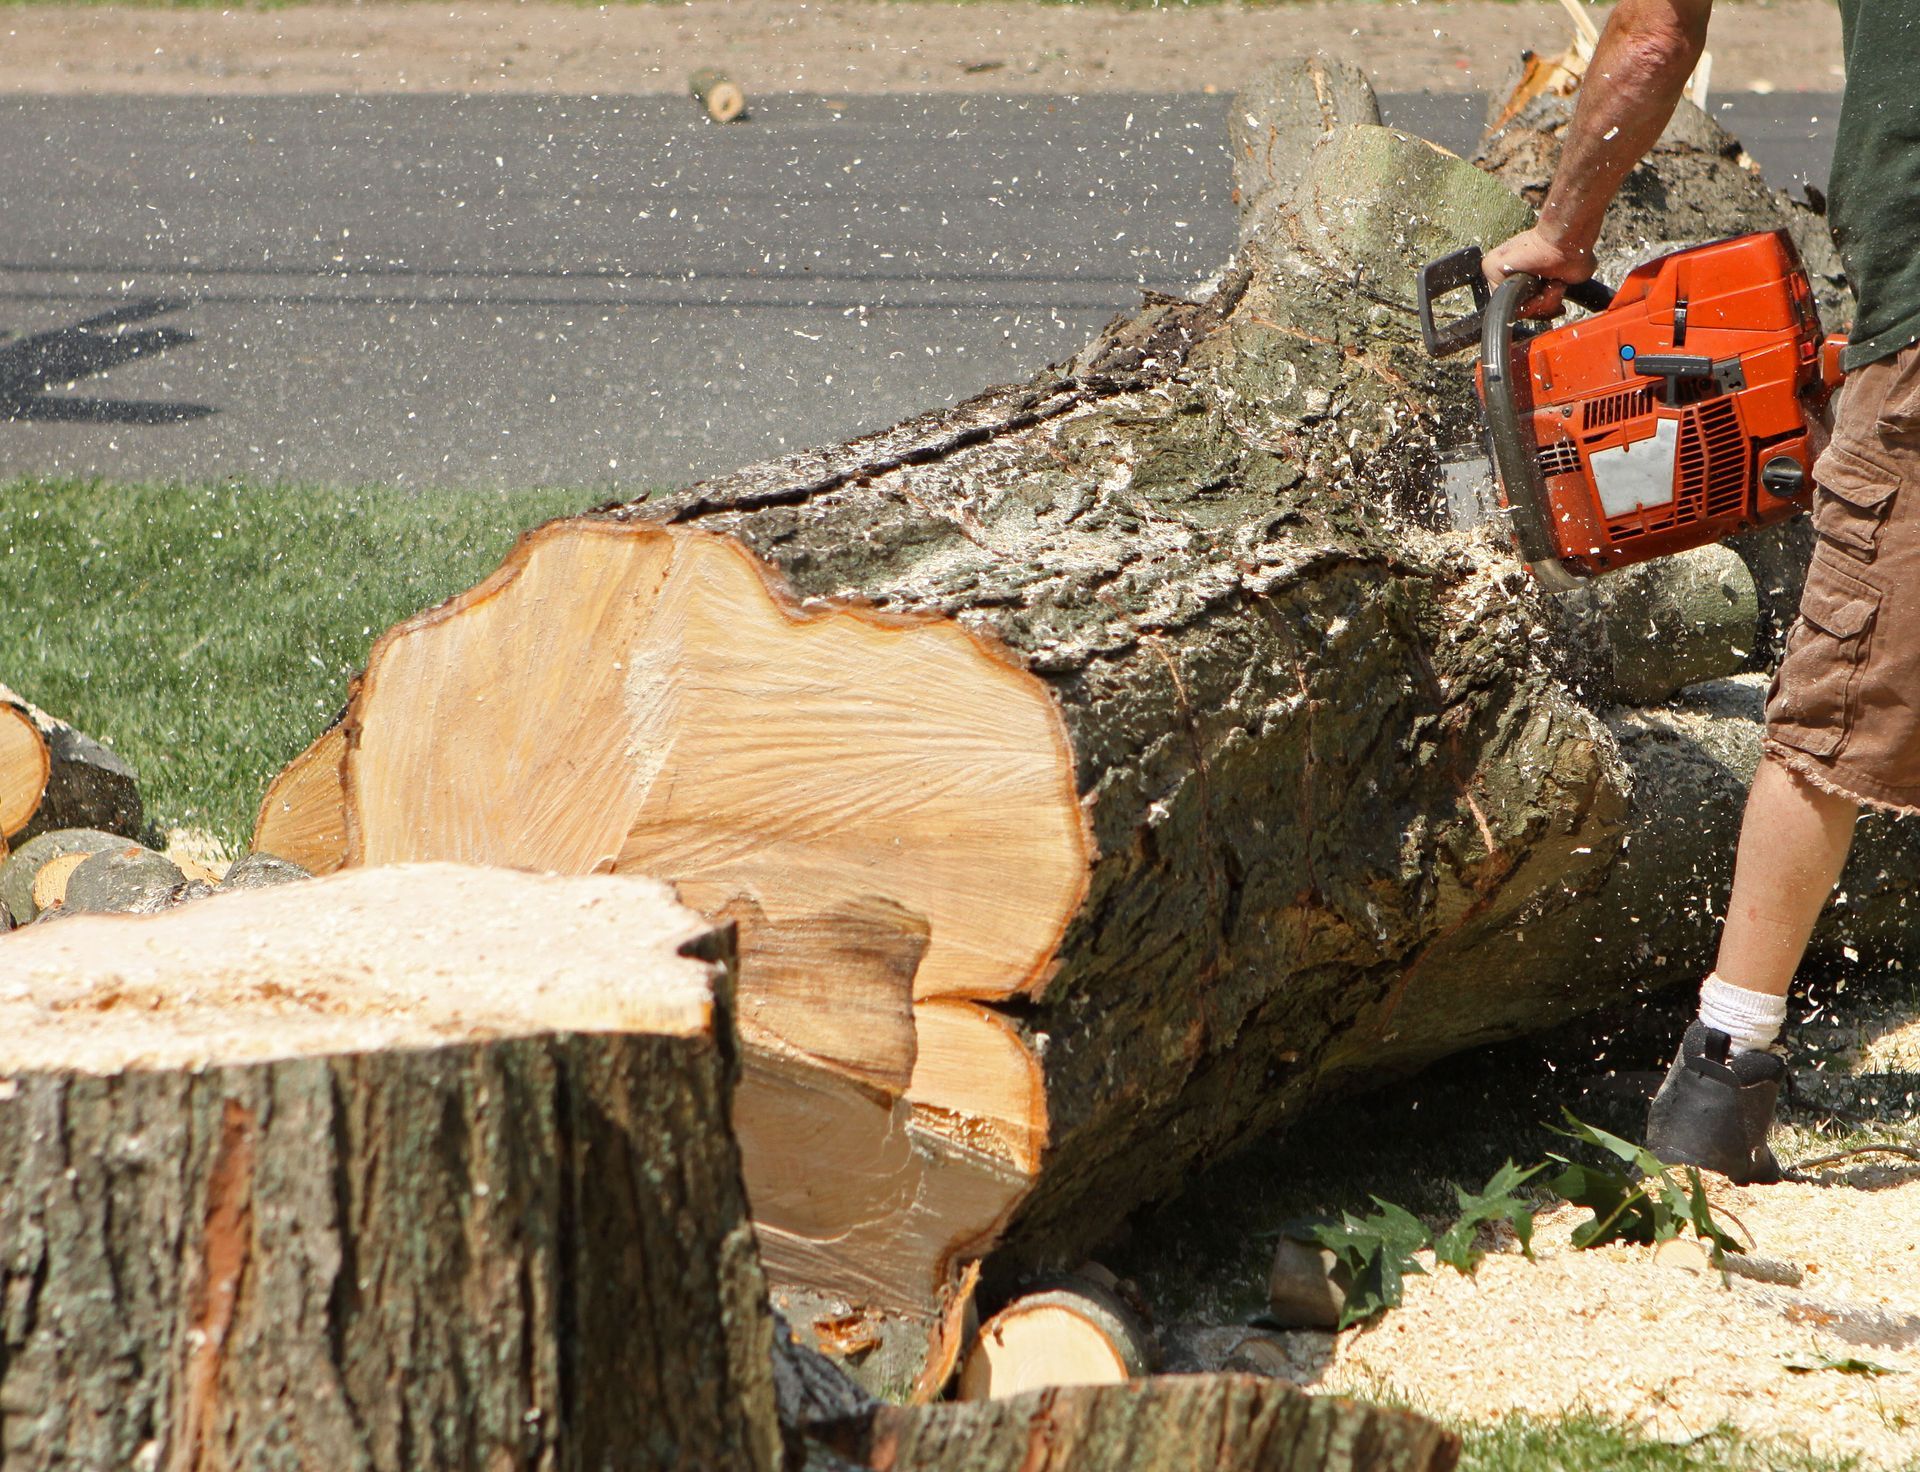
Felling the Main Trunk and Limb Removal
Once rigging is in place and the upper sections are removed, the crew moves to the main trunk. In many cases, the tree is cut progressively from the top down, either section by section or by lowering manageable lengths. If safety allows and the location is clear, the arborist may fell the remaining trunk in one controlled drop. The direction and fallback zone are predetermined during the planning phase.
After the trunk is down, crews begin limb removal and cross-cutting to reduce large sections into smaller, manageable logs. These logs may be hauled away, sold as firewood, or chipped on site, depending on your agreement with the removal company. The wood chips may be spread as mulch or removed altogether.
At this point, you’ll see the stump still left in the ground. Many clients wonder about how much root material is removed. In most standard local tree removal services, roots and stump below grade remain unless stump grinding or full stump extraction is requested. In fact, according to the USDA Forest Service, approximately 25% of stumps and the majority of all roots are left in the soil to benefit soil organisms. This practice helps preserve soil structure and microbial life in the area. Removing every root would require heavy excavation and could damage surrounding soil and utilities, so leaving much of the root network undisturbed is often both practical and ecologically beneficial.
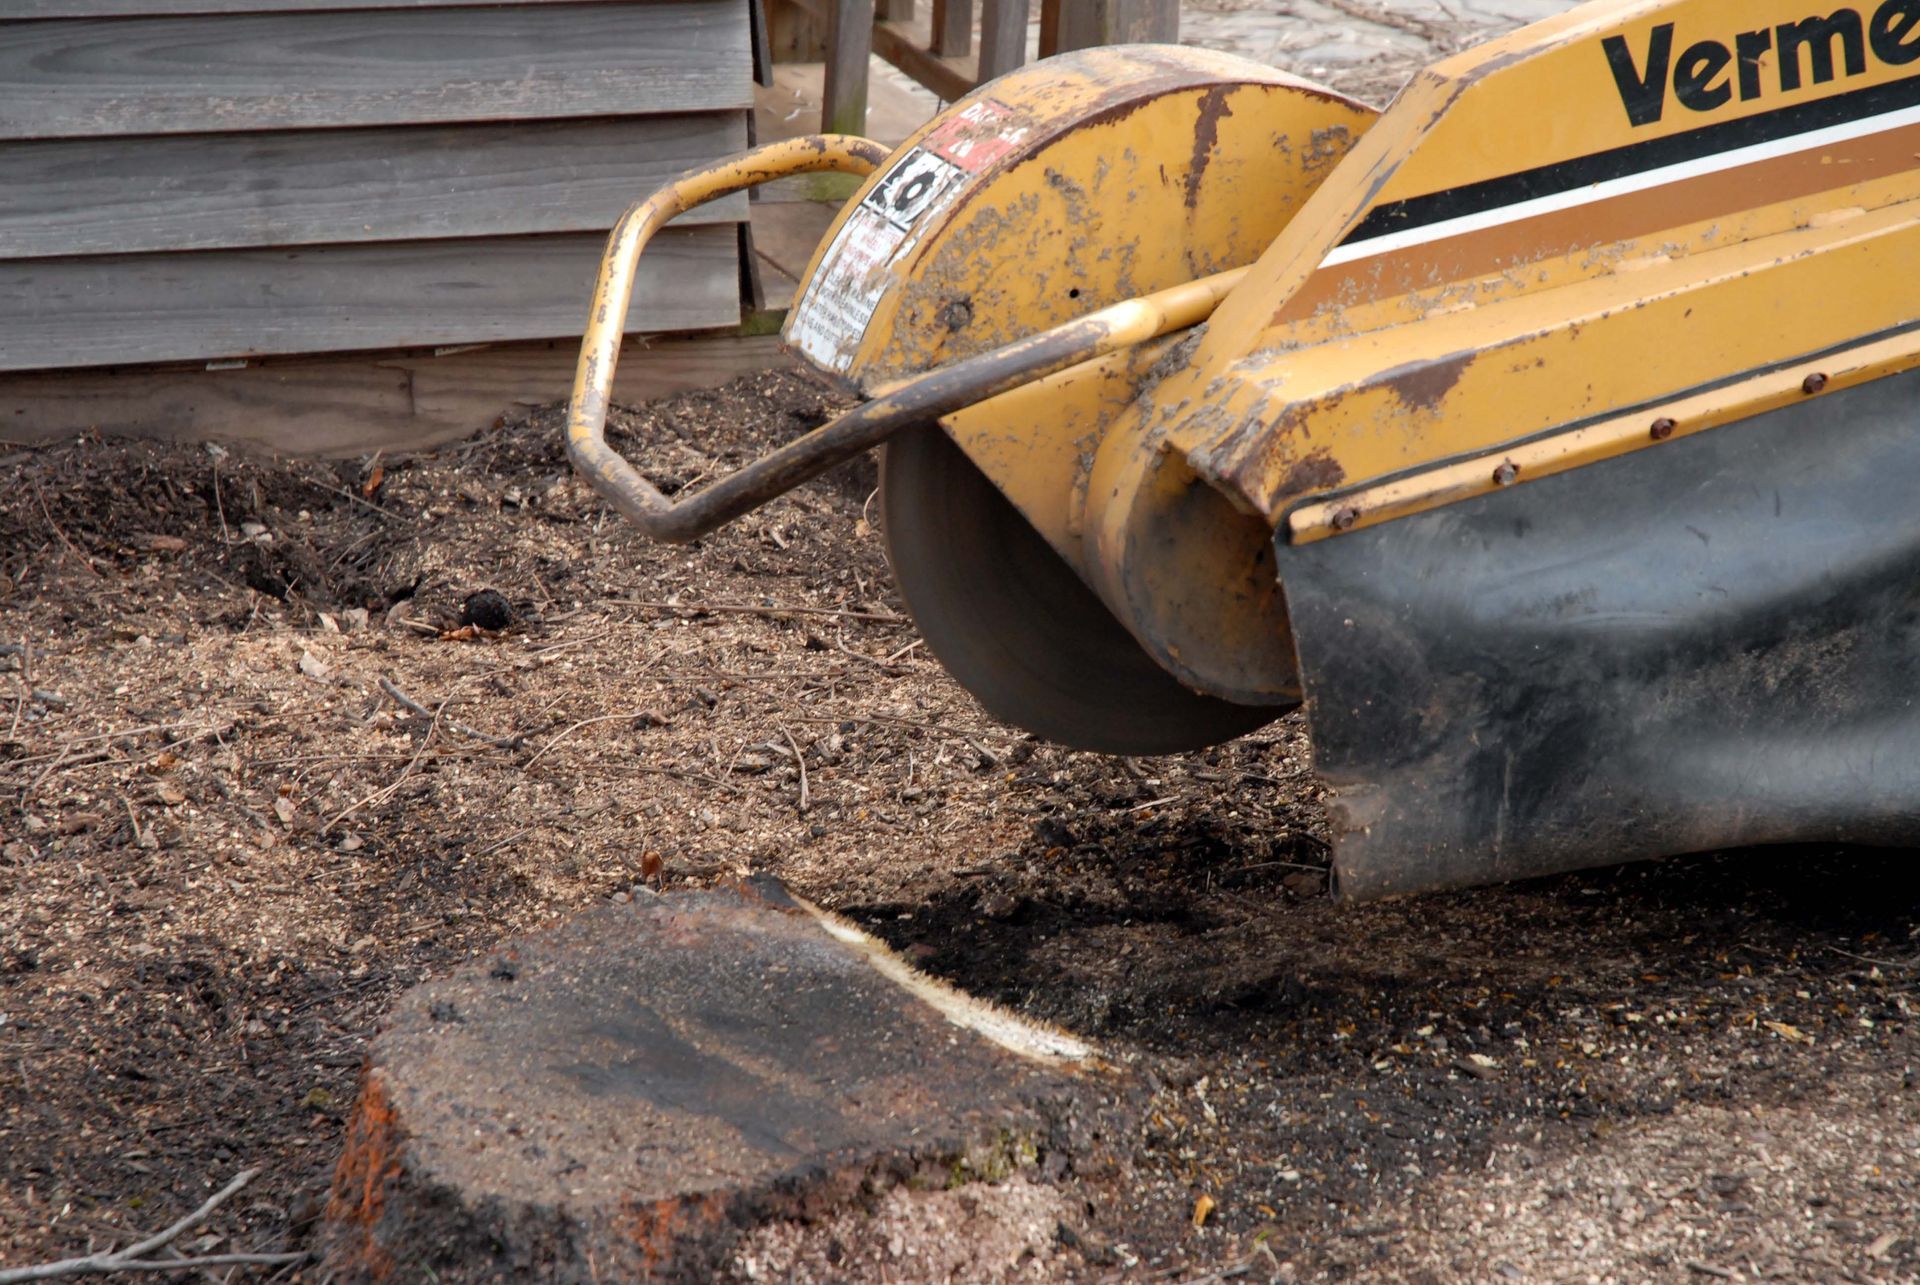
Stump, Root Handling, and Site Clean-Up
After the tree and limbs are removed, the team focuses on stump and root handling. Depending on your contract, they may grind the stump down below the soil surface or excavate the entire stump and root ball. Stump grinding is the more common option in residential projects, where a machine shreds the stump into chips and leaves the wood debris to decompose or be removed.
If a deeper root removal is requested, additional digging or machinery is needed, which can disturb nearby soil and plants. Professionals will take greater care around irrigation lines, utility cables, pipes, and adjacent planting beds. After grinding or excavation, the site is smoothed, backfilled, and graded to prevent tripping hazards or water pooling. All debris—branches, chips, and debris—is hauled away unless you’ve asked to keep the wood or chips.
In many local tree removal jobs, crews also offer optional services like stump treatment to prevent regrowth, root pruning, soil aeration, or site restoration planting. Before final cleanup, the crew performs a walk-through with the homeowner to ensure satisfaction. They clear wood debris, check for stray branches, and restore patios, driveways, or lawns to their prior condition as much as possible. You’ll want to confirm that all components—including equipment, access paths, and boundaries—were respected and restored.
Tips for Homeowners Before and After Removal
To get the most out of your tree removal experience, there are a few things homeowners should keep in mind. First, always confirm that the company you're working with is properly licensed, insured, and, ideally, certified by a professional arborist organization. This ensures the crew is qualified to safely handle the job. It's also important to clarify ahead of time whether stump grinding or full stump extraction is included in the service, and whether root removal will be addressed as part of the process.
Before the crew arrives, make sure the surrounding area is clear. Move any vehicles, lawn furniture, or delicate plants that might obstruct access or risk damage during the job. If there are underground features such as sprinkler systems, septic tanks, or utility lines, be sure to communicate their location with the team in advance so they can plan accordingly.
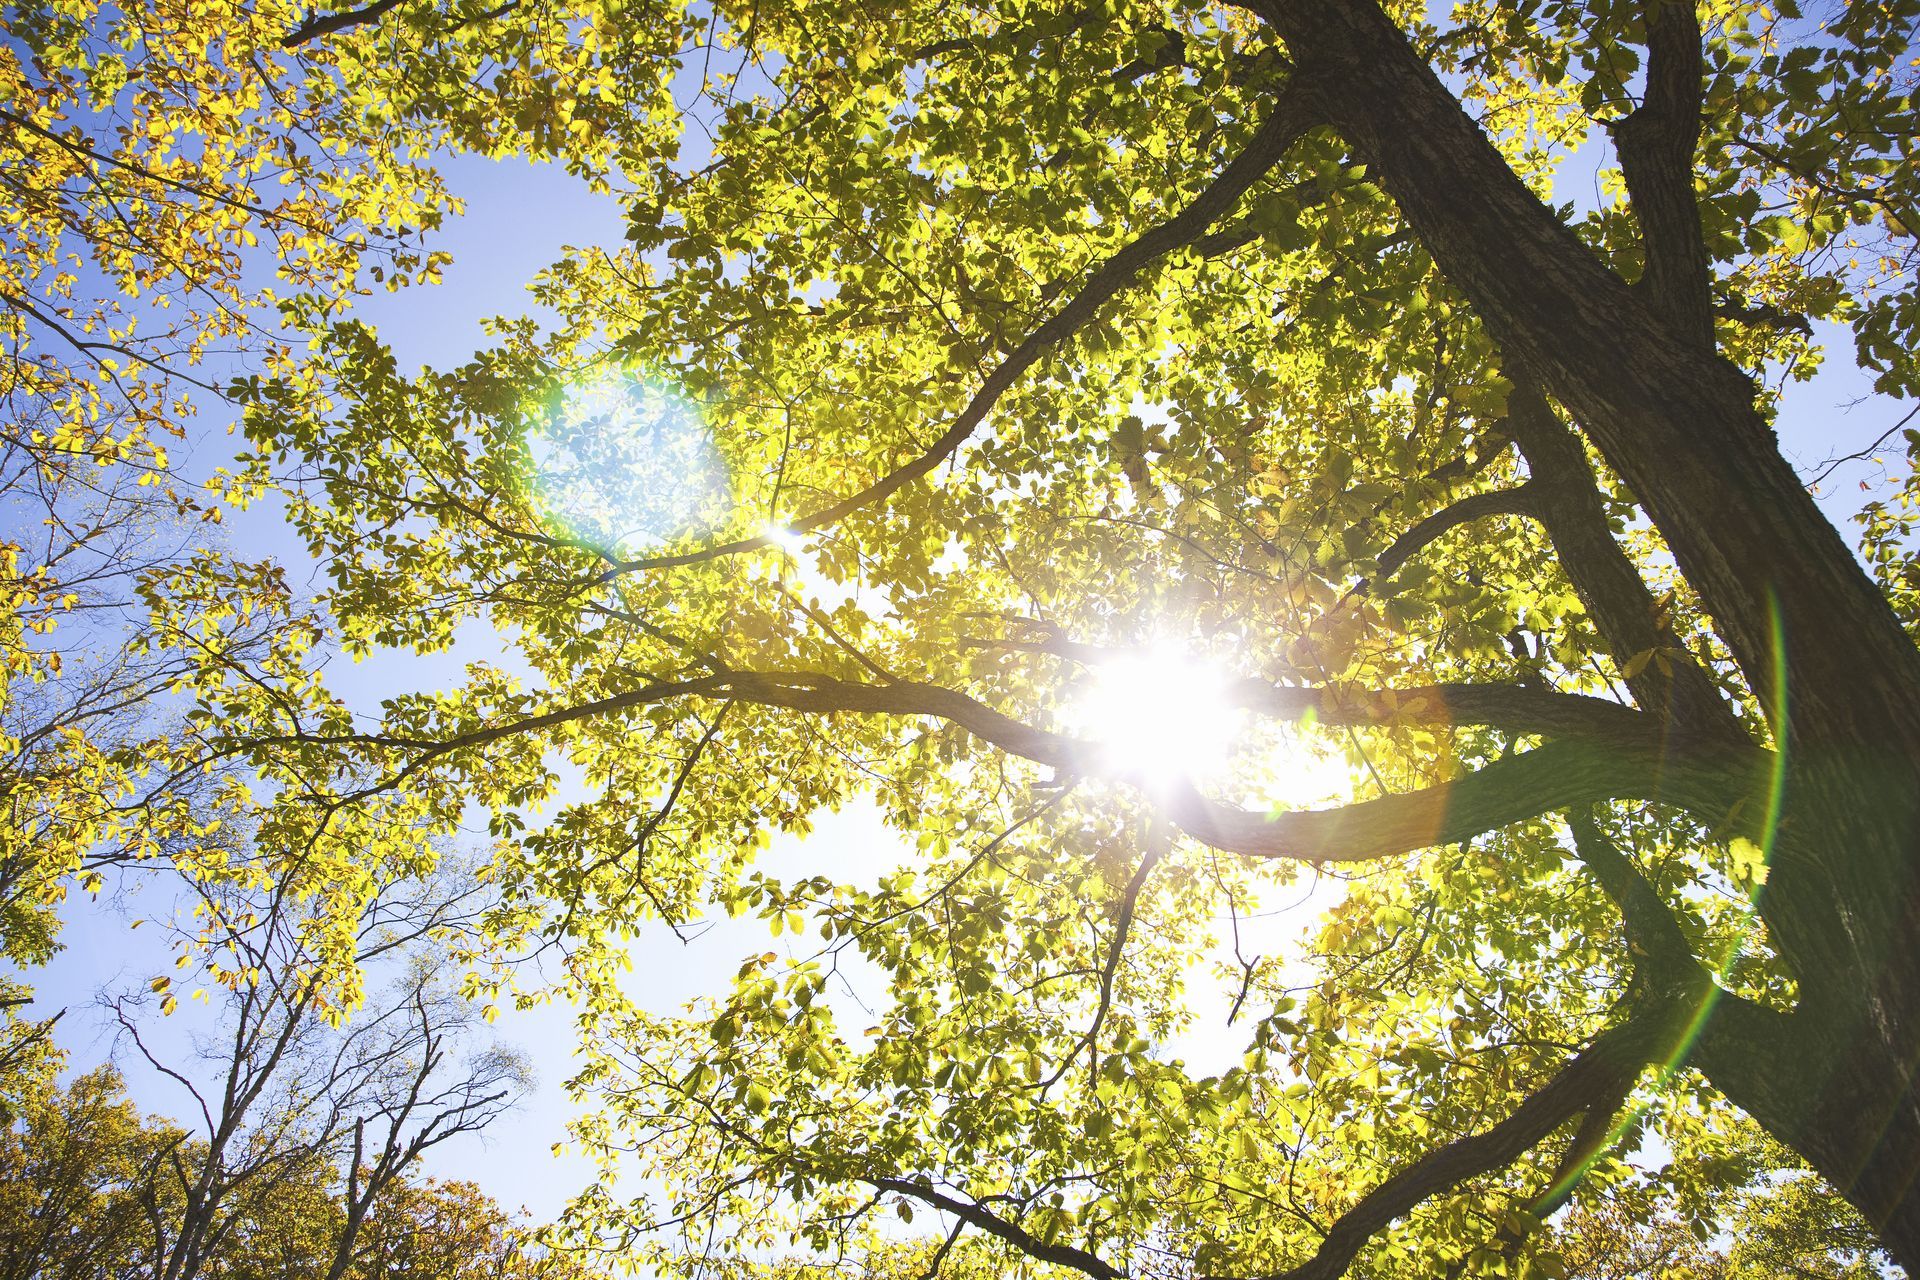
Once the tree has been removed, consider planting a replacement tree that is better suited to your soil and site conditions. This not only restores the visual balance of your yard but also helps maintain soil stability. Keep an eye on the ground where the tree once stood, especially in the weeks that follow—some settling may occur, and regrading might be necessary to ensure proper drainage.
Removing a diseased or dying tree is a complex process that involves professional assessment, careful planning, rigging, cutting, stump handling, and cleanup. As a homeowner, knowing what to expect from local tree removal helps you make informed decisions and stay safe. From the initial inspection to the final walk-through, your role is to communicate clearly, prepare the site, and review the outcome. With the right team and process, you’ll end up with a safer yard and a fresh foundation for future planting or landscaping.
If you have a diseased or dying tree on your property, don’t wait for it to become a bigger hazard. Contact Shamblin's Tree Service today for expert local tree removal you can count on to keep your home and landscape safe.